The Ultimate Guide to Insoles for Cycling Shoes
If you’re an avid cyclist, you know the importance of having the right gear to enhance your riding experience. While you may focus on the bike, pedals, and clothing, one often-overlooked accessory can make a significant difference in your comfort and performance – insoles for cycling shoes. In this comprehensive guide, we’ll delve into the world of cycling insoles, exploring what they are, why they matter, and how to choose the perfect pair for your needs.
Table of Contents

Introduction to Cycling Insoles
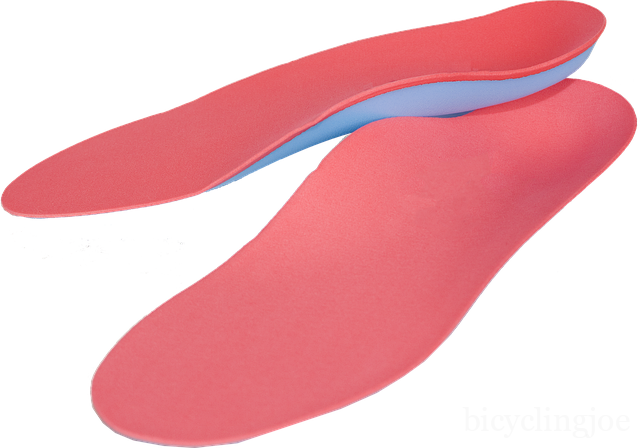
Cycling insoles, also known as footbeds or inserts, are specialized shoe inserts designed to provide support and comfort to cyclists. Unlike the generic insoles that come with most cycling shoes, these are tailored to the unique demands of cycling. Whether you’re a road cyclist, mountain biker, or indoor spinner, the right pair of cycling insoles can elevate your riding experience. Along with the insoles you might want to also gain knowledge on Top Clipless Pedals in 2023, MTB Clipless Pedals, & Road Bike Pedals
Why Are Cycling Insoles Important?
Cycling can be physically demanding, and your feet play a crucial role in powering your ride. Cycling insoles offer several key benefits:
- Improved Comfort: They provide cushioning and support, reducing discomfort and hotspots during long rides.
- Enhanced Power Transfer: Proper alignment of your feet can improve energy transfer from your legs to the pedals.
- Reduced Fatigue: Cycling insoles can help reduce foot fatigue, allowing you to ride longer and more comfortably.
Types of Cycling Insoles
There are various types of cycling insoles available, each catering to different cycling styles and foot types:
Rigid Insoles for Cycling Shoes
Rigid insoles are designed for riders who need maximum support and power transfer. They are ideal for road cyclists and those looking for improved pedaling efficiency.
Cushioned Insoles
Cushioned Insoles for Cycling Shoes prioritize comfort and shock absorption. Mountain bikers and riders seeking a more forgiving feel may prefer these.
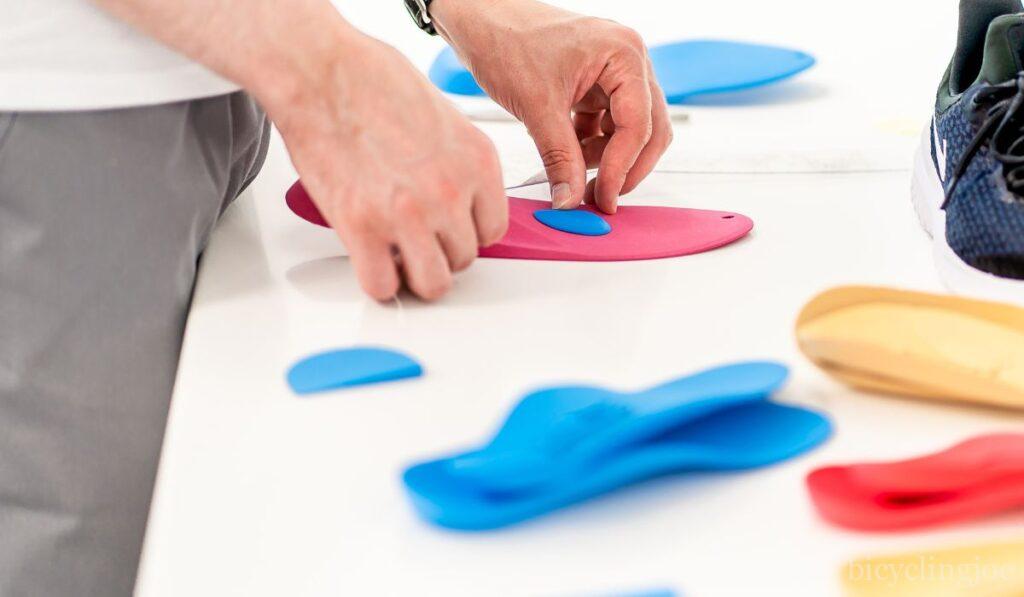
Custom Molded Insoles
For the utmost in personalized support, custom molded insoles are created based on your unique foot shape. They offer unparalleled comfort and are often used by competitive cyclists.
Choosing the Right Cycling Insoles
Selecting the right Insoles for Cycling Shoes involves considering several factors:
Foot Arch Type
Check your arch type to ascertain if it is high, medium, or low arch. Different insoles cater to each arch type, providing the necessary support.
Foot Size and Shoe Fit
Ensure that the Insoles for Cycling Shoes fit comfortably within your cycling shoes without causing any crowding or discomfort.
Cycling Discipline
Road cyclists may prioritize power transfer, while mountain bikers may opt for cushioned insoles for rugged terrain.

Benefits of Using Cycling Insoles
Using cycling insoles can transform your riding experience:
Enhanced Comfort
With improved cushioning and support, cycling insoles reduce pressure points and discomfort, allowing you to focus on your ride.
Improved Power Transfer
Properly aligned feet ensure that every ounce of effort you put into pedaling translates to forward motion.
Reduced Fatigue
Say goodbye to tired feet. Cycling insoles can help you ride longer and recover faster.
How to Install Cycling Insoles
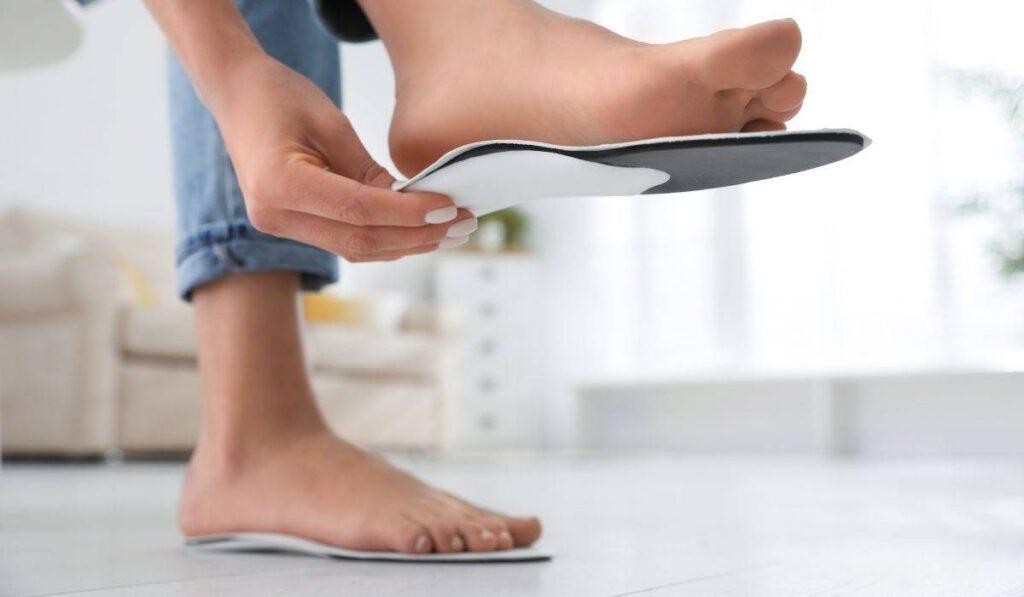
Installing cycling insoles is a straightforward process that can greatly enhance your riding experience but if not done carefully can cause problems. Here’s a detailed guide on how to install insoles for cycling shoes:
Step 1: Gather Your Tools You’ll need your cycling shoes, the new cycling insoles you’ve chosen, and possibly a small pair of scissors.
Step 2: Remove the Existing Insoles Start by removing the stock insoles that came with your cycling shoes. Gently peel them away from the bottom of your shoes. In some cases, they might be glued down, so take care not to damage your shoes in the process.
Step 3: Clean the Inside of Your Shoes With the old insoles out, take a moment to clean the inside of your cycling shoes. This will ensure a clean surface for your new insoles.
Step 4: Trim if Necessary Depending on the fit of your cycling shoes and the new insoles, you may need to trim the new insoles to size. Place the old insoles on top of the new ones and use them as a template. Carefully trim any excess material with scissors to ensure a proper fit.
Step 5: Insert the New Insoles Once your new insoles are the right size, slide them into your cycling shoes. Make sure they are properly aligned and fit snugly from heel to toe. The insoles should lie flat and not bunch up or fold inside your shoes.
Step 6: Check for Comfort Put on your cycling shoes with the new insoles and walk around a bit to ensure they feel comfortable. carefully look out for any pressure points or discomfort. If something doesn’t feel right, you may need to make further adjustments or consider a different insoles for cycling shoes.
Step 7: Lace Up Your Shoes Finally, lace up your cycling shoes as you normally would. Ensure a secure fit that doesn’t put undue pressure on your feet. Properly lacing your shoes can also help distribute pressure evenly across the insoles.
Step 8: Test Ride The best way to ensure your new cycling insoles are a good fit is to take them for a test ride. Start with a shorter ride to see how your feet and shoes feel. If everything feels great, you’re ready to enjoy the benefits of your new insoles for cycling shoes on longer rides.
Installing cycling insoles is a simple yet effective way to improve comfort and performance during your cycling adventures. With the right insoles in place, you’ll experience reduced fatigue, better power transfer, and an overall more enjoyable ride. So, don’t hesitate to upgrade your cycling gear with the perfect pair of insoles for your cycling shoes. Happy riding!

Maintaining Your Cycling Insoles
Proper maintenance of your Insoles for Cycling Shoes is essential to ensure they continue to provide comfort and support throughout your rides. Here’s a detailed guide on how to maintain your cycling insoles:
Step 1: Regular Cleaning Regularly clean your cycling insoles to prevent the buildup of dirt, sweat, and odor. Remove the insoles from your cycling shoes after each ride and shake off any loose dirt. You can also lightly brush them with a soft brush or cloth to remove surface dust.
Step 2: Air Them Out After removing your Insoles for Cycling Shoes, let them air out to allow any moisture to evaporate. Moisture can lead to the growth of bacteria and unpleasant odors. Avoid direct sunlight and high heat, as excessive heat can damage the materials.
Step 3: Washing If your Insoles for Cycling Shoes become particularly sweaty or dirty, you can wash them gently with mild soap. Avoid using hot water, as it can deform the materials. Use lukewarm water instead. Gently scrub the insoles with a soft brush or cloth, paying attention to any stained or soiled areas.
Step 4: Rinse and Dry After washing, rinse the insoles thoroughly with clean water to remove any soap residue. Squeeze out excess water gently, but do not wring or twist them, as this can damage the insole’s shape. Securely place them in well-ventilated area to air dry. Avoid using heat sources like radiators or hair dryers, as they can warp the insoles.
Step 5: Odor Control To keep your Insoles for Cycling Shoes smelling fresh, you can sprinkle a bit of baking soda or use specialized insole deodorizers. This helps absorb moisture and eliminate odors. You can also insert cedar shoe trees or balls into your cycling shoes when not in use to help control moisture and odor.
Step 6: Inspect for Wear and Tear Regularly inspect your cycling insoles for signs of wear and tear. Check for worn-out cushioning, cracks, or deformities. If you notice any damage, it may be time to replace your insoles to maintain optimal comfort and support.
Step 7: Rotate Between Insoles If you have multiple pairs of cycling insoles, consider rotating them between rides. This allows each pair to air out completely and extends their lifespan.
Step 8: Replace When Necessary Cycling insoles have a lifespan, and their longevity depends on factors like usage and quality. When you notice that your Insoles for Cycling Shoes no longer provide the support and comfort they once did, it’s time to replace them. On average, consider replacing them every 1,500 to 2,000 miles of cycling or when you see visible signs of wear.
By following these maintenance steps, you can ensure that your Insoles for Cycling Shoes remain in excellent condition, offering the comfort and support you need for many rides to come. Properly cared-for insoles not only enhance your riding experience but also contribute to the longevity of your cycling shoes. So, make it a habit to give your cycling insoles the attention they deserve for a more enjoyable and comfortable ride.
Comparing Top Cycling Insole Brands
Several reputable brands offer high-quality cycling insoles. Here are a few worth considering:
Superfeet
Superfeet is known for its range of supportive insoles suitable for various cycling disciplines. Their goods are made to improve performance and comfort.
SOLE
SOLE specializes in custom moldable insoles, offering a personalized fit for ultimate comfort and support.
Specialized
Specialized, a well-known name in cycling, also produces cycling-specific insoles that cater to different riding styles.

Customer Reviews and Recommendations
Before making a purchase of Insoles for Cycling Shoes, it’s always a good idea to read customer reviews and seek recommendations from fellow cyclists. Their experiences can provide valuable insights into the effectiveness of specific cycling insoles.
FAQs About Cycling Insoles
What are Insoles for Cycling Shoes, and how do they work?
Cycling insoles are specialized inserts designed to provide comfort and support while cycling. They work by aligning your feet correctly, reducing discomfort, and improving power transfer.
Can I use regular insoles in my cycling shoes?
While you can use regular insoles, cycling-specific insoles are designed to address the unique demands of cycling, offering better support and comfort.
How often should I replace my cycling insoles?
The lifespan of cycling insoles varies based on usage and quality. On average, consider replacing them every 1,500 to 2,000 miles or when you notice signs of wear.
Do I need to break in new cycling insoles?
Yes, it’s advisable to break in new cycling insoles gradually. Start with shorter rides and gradually increase the duration to allow your feet to adjust.
Can cycling insoles help with foot numbness?
Yes, properly fitted cycling insoles can alleviate foot numbness by improving blood circulation and reducing pressure points.
In conclusion, investing in the right pair of cycling insoles can significantly enhance your riding experience. They offer improved comfort, power transfer, and reduced fatigue, allowing you to fully enjoy your time on the bike. Remember to choose insoles that match your foot type and cycling style, and don’t forget to read reviews and seek recommendations. So, gear up with the perfect cycling insoles and hit the road with confidence. You might want to read our elaborate blogpost on Superfeet Carbon Insoles

